Getting Started
UI Explorer
What is UI Explorer
UI Explorer is a small tool to obtain node information and helper program to construct query, great to learn query language learning.
Step 1: Open UI Explorer
In MDCC, the UI Explorer can be opened through the quick entry.

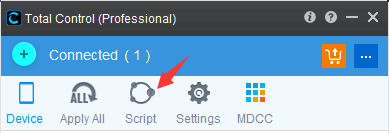
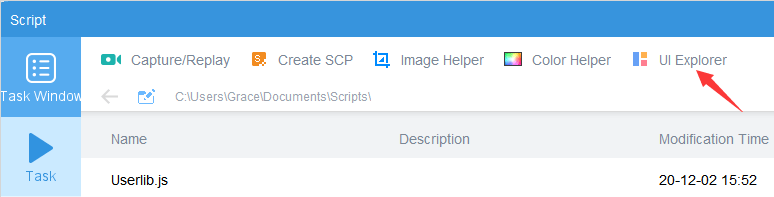
In WDM, click on the "Script" icon to open the "Script" window, and then click "UI Explorer" to enter.
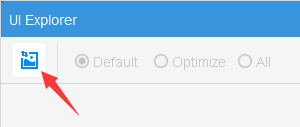
Step 2: Screenshot
In UI Explorer, click the "Screenshot" icon to capture the current screen of the main device.
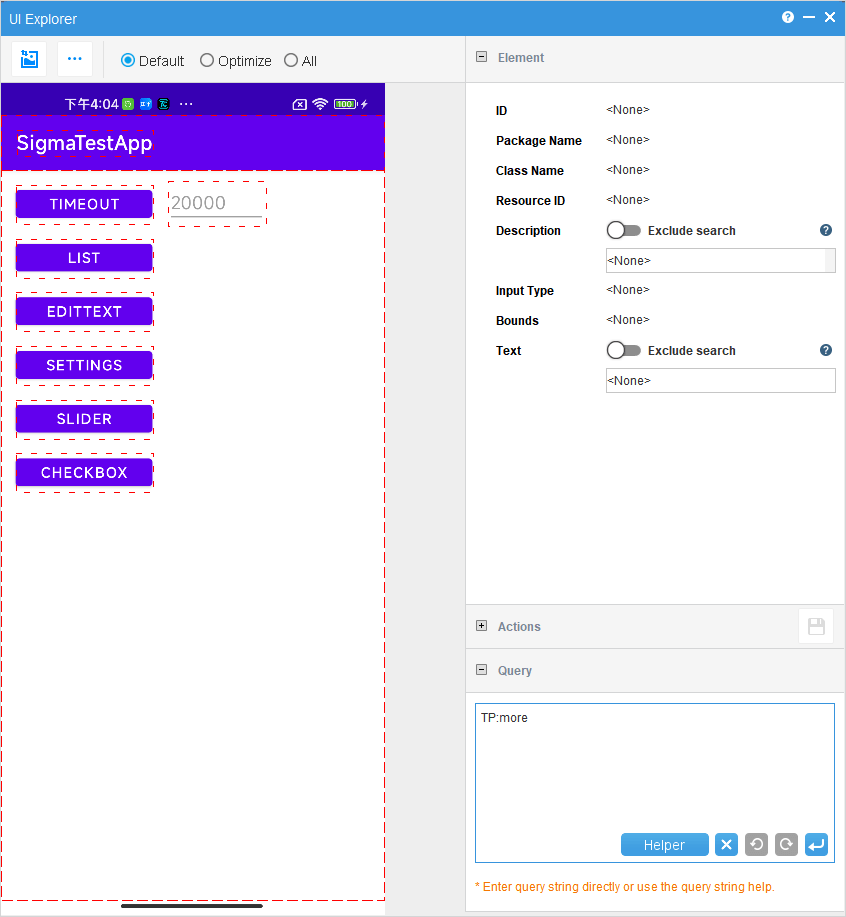
Step 3: Get Node Information
Click the node on the screenshot to see the Class Name, Resource ID, Description, Text and other information of the node.
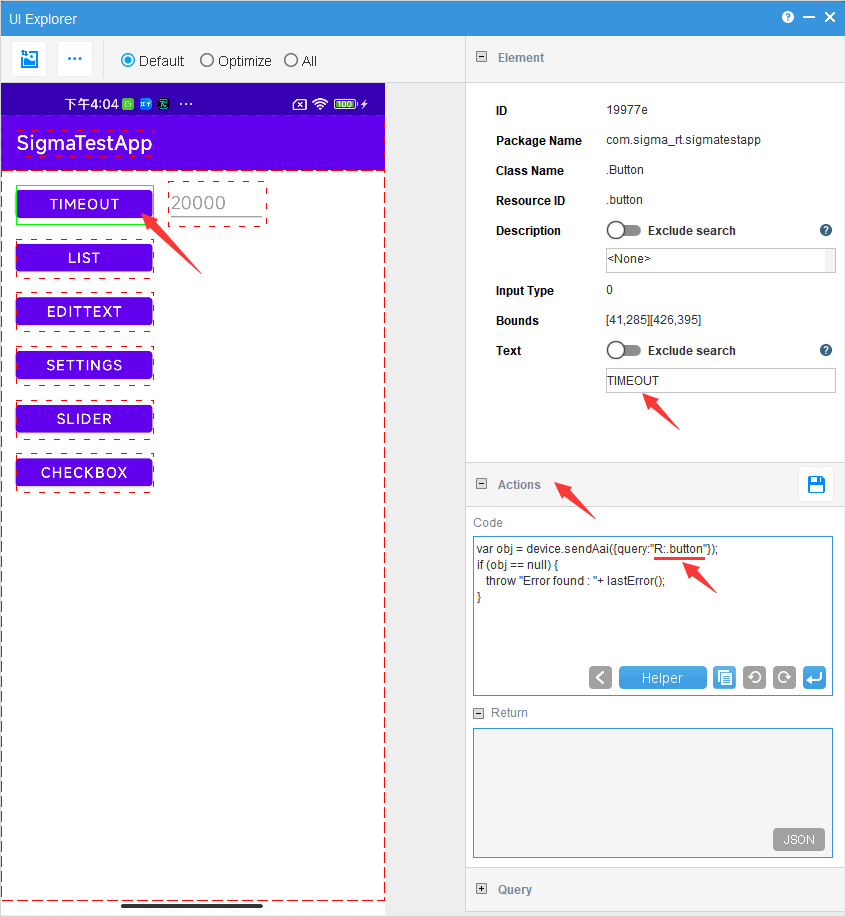
You can generate queries based on the obtained node information.
For example, to find the TIMEOUT node, there are several ways.
- Generate a query based on text.
T:TIMEOUT
- Generate a query based on Resource.
R:.button
- Of course you can also match both text and Resource ID.
T:TIMEOUT&&R:.Button
- * Recommend to use the query generated automatically by UI Explorer.
Once the node is found by query, you can operate on it.
For example, clicking on the TIMEOUT button can be achieved by the following script
device.sendAai({query:”T:TIMEOUT”,action:”click”})
For more on the use of sendAai, please refer to the documentation: FindNode
Step 4: Construct Query Yourself
The Helper can help programmers to construct queries quickly.
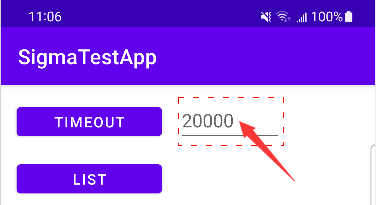
For example, find the first node to the right of the "TIMEOUT" button in the screenshot.
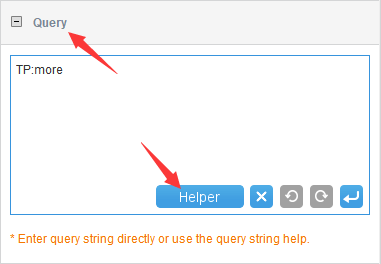
1. Open the Query tab and click on "Helper".
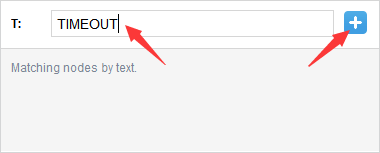
2. In the helper window, click "BQ" (Basic Queries) and select T:<text>.
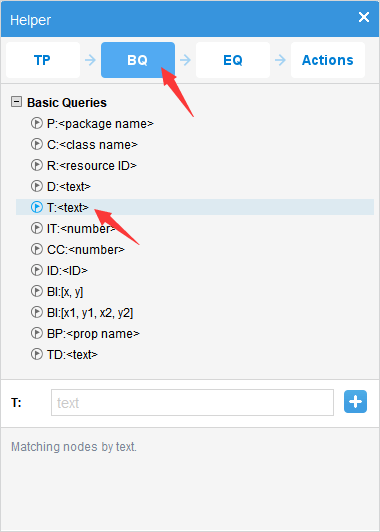
3. Enter "TIMEOUT" in the parameter box and click the "+" button.
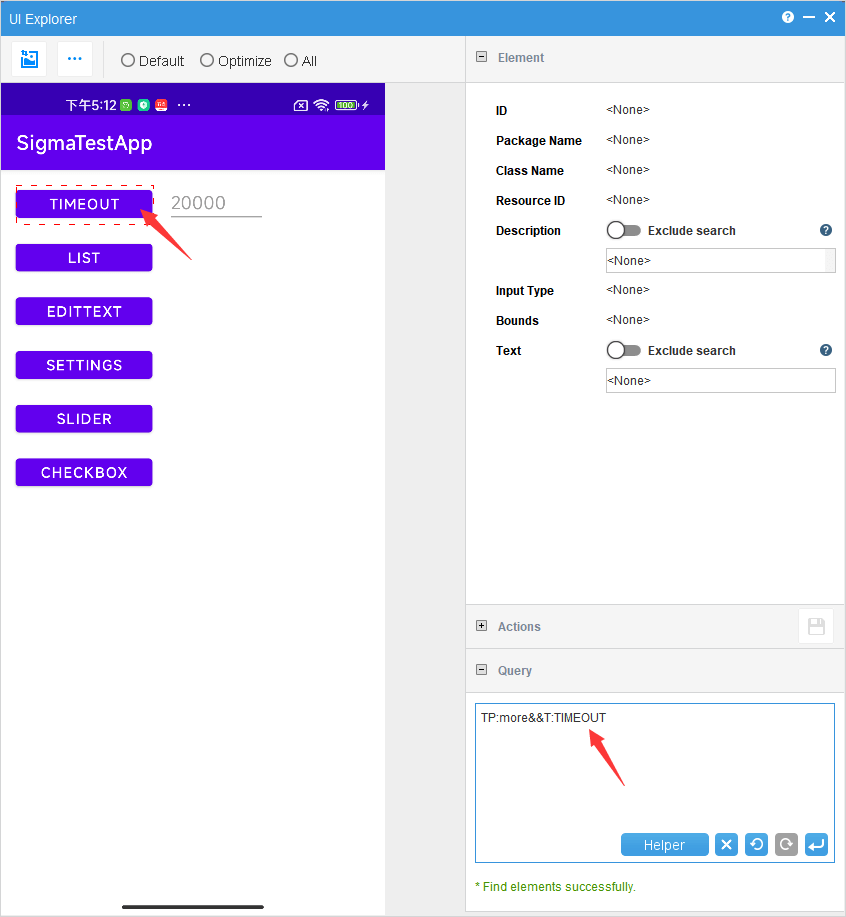
4. You will see that T:TIMEOUT is added to the query statement and executed, and the "TIMEOUT" button is selected.
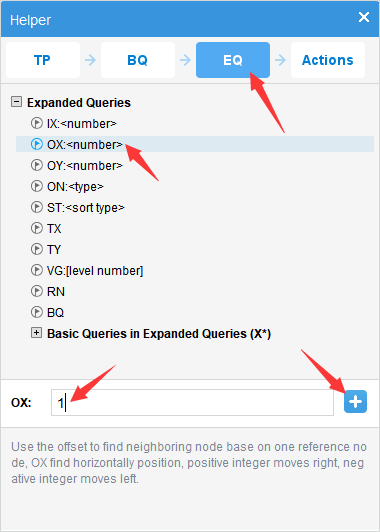
5. In the help window, click "EX" (extended query), select "OX:
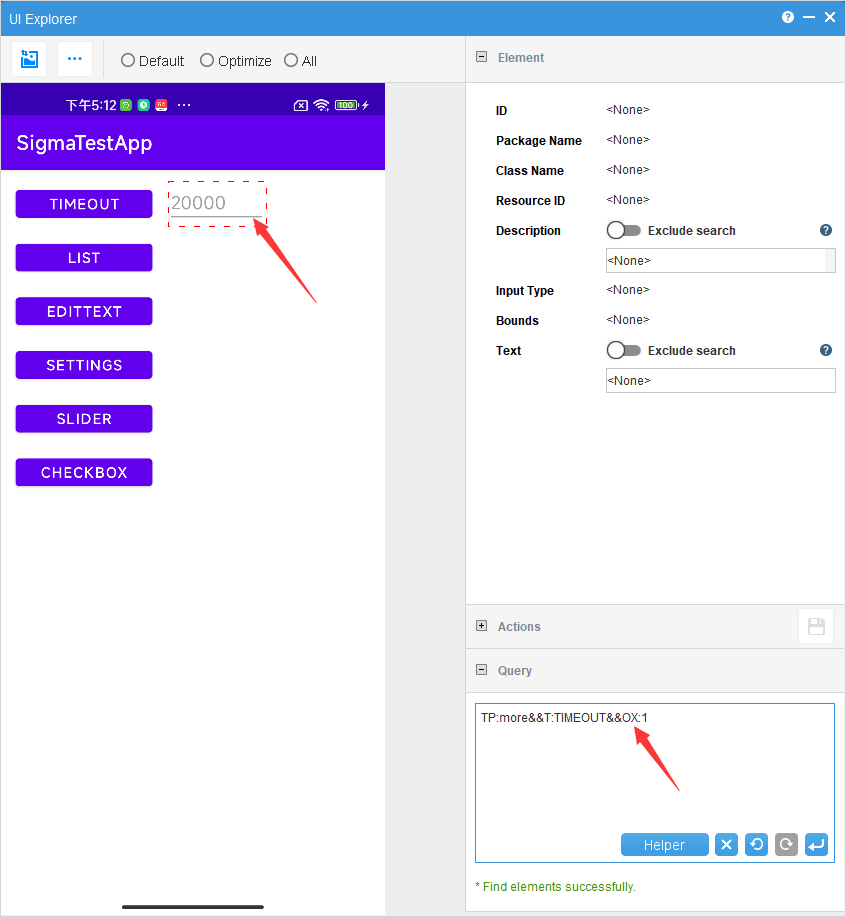
6. You will see that OX:1 is added to the query statement and executed, and the first node to the right of "TIMEOUT" is selected.
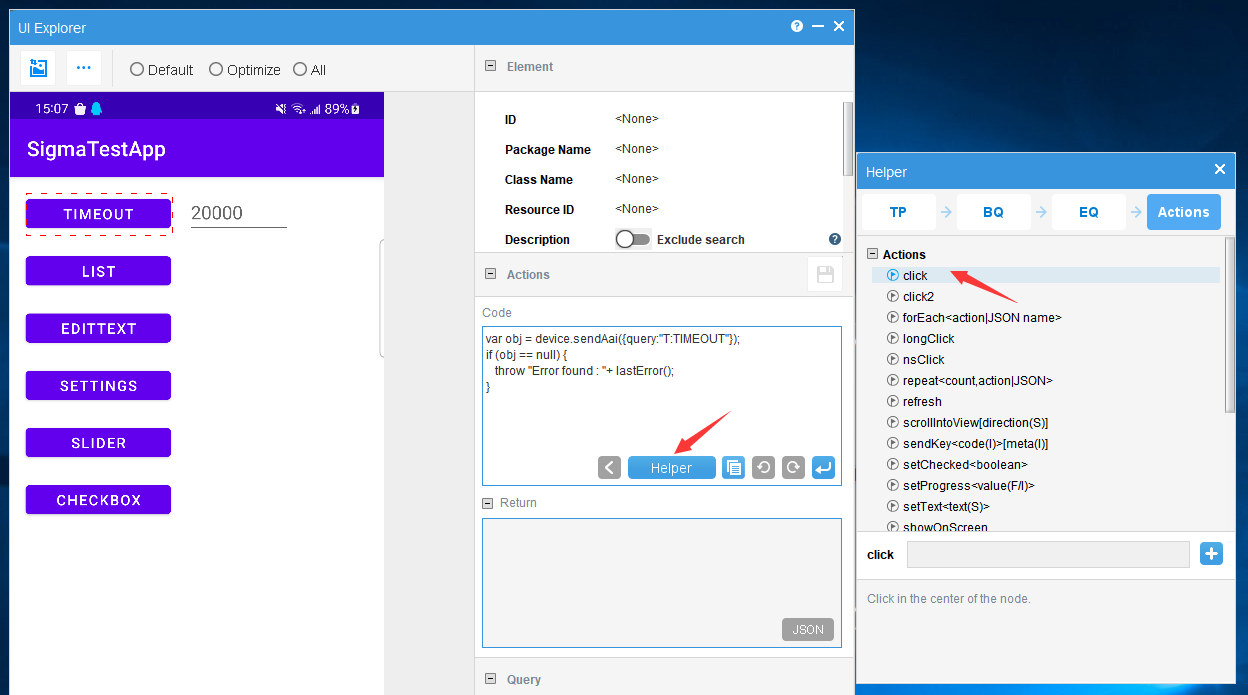
Step 5: Performing Operations on Nodes
After locating the node by query, you can perform various actions, such as clicking, getting the border or text, etc.
Taking the click action as an example, we perform a click operation on the "TIMEOUT" node we just located.
1. You can use the "Helper" to add action code quickly, click "Helper" in the " Code" box, and find "click" under "Actions".
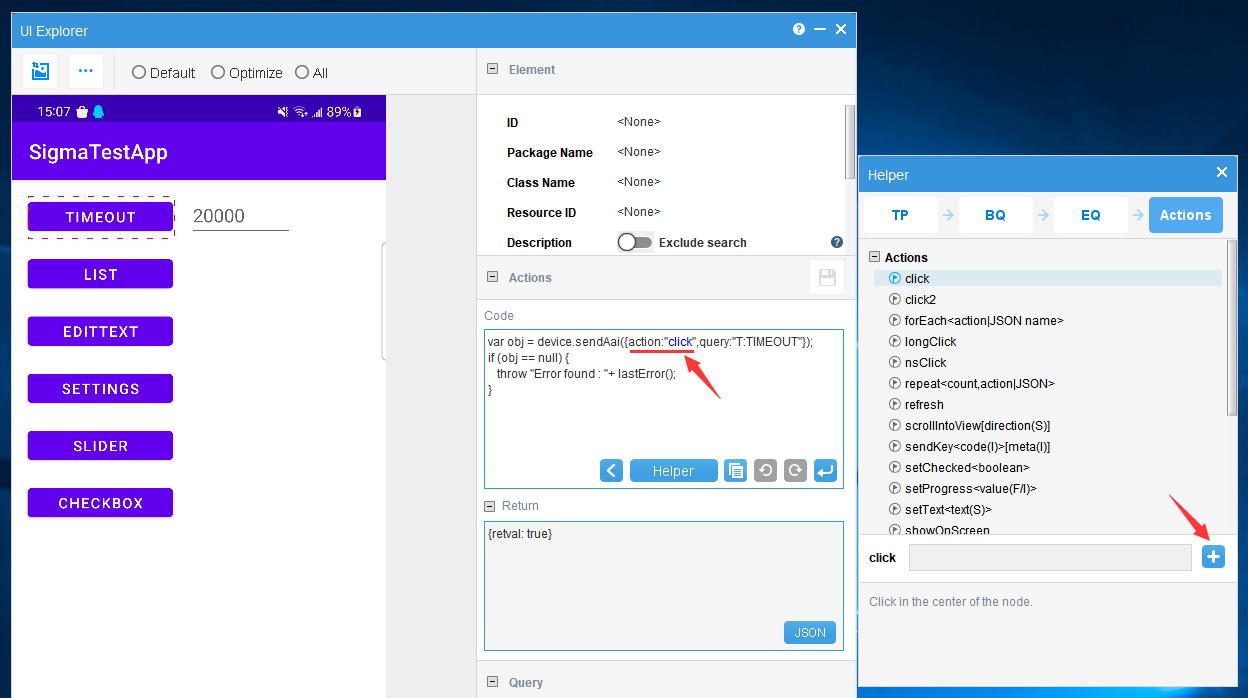
2. Click on the "+" icon to add the click to the code and execute it.
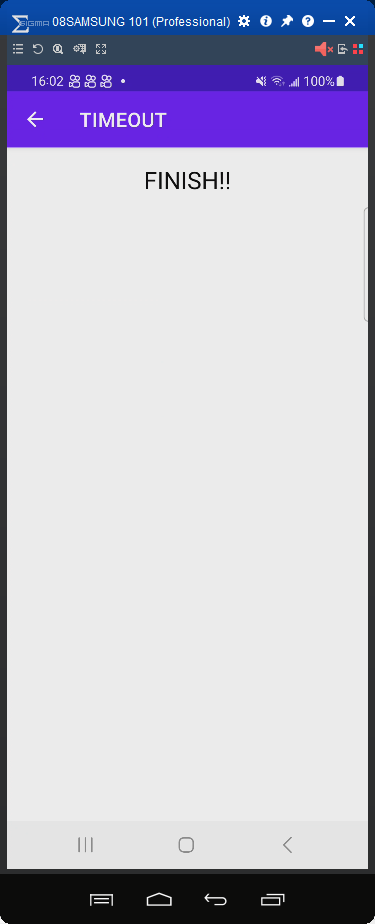
3. You can see the screen on the device after clicking the "TIMEOUT" button.
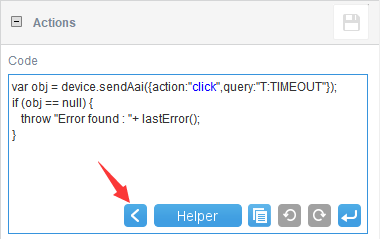
* Note: The screenshot in "UI Explorer" will not change, you can click the "Back" button to go back to the previous screen on your device.
To learn more about query, please refer to the documentation: FindNode