Getting Started
How to Use FindNode (Demonstrated with SigmaTestApp)
SigmaTestApp is a demo app for step-by-steyp instructions on how to use Total Control and AAI.
Step 1: Preparation
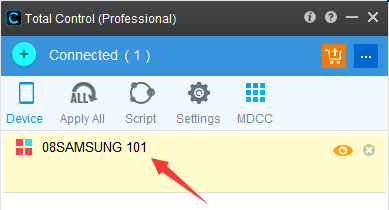
1. Open Total Control and connect a device.
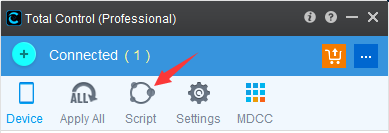
2. Click "Script" to enter the script window.
Desktop Mode
MDCC Mode

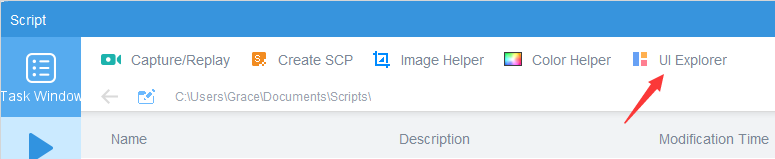
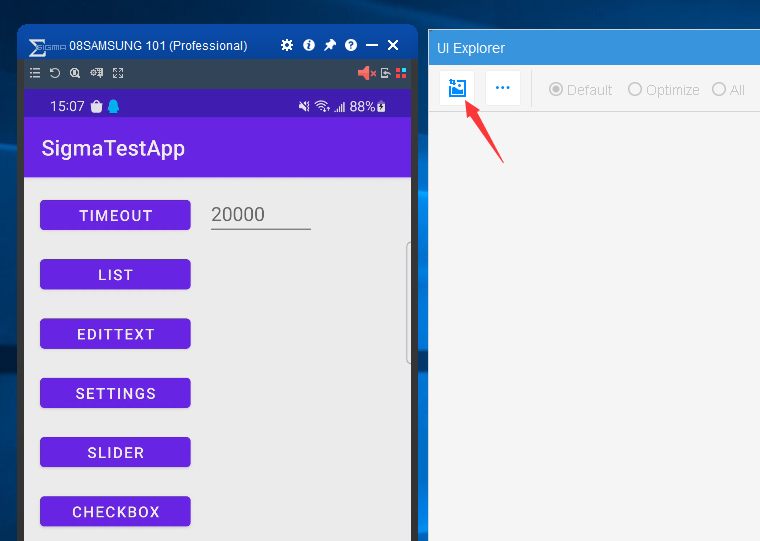
3. Click the icon in the script window to enter "UI Explorer".
UI Explorer is a small tool to obtain node information and helper program to construct query, great to learn query language learning.
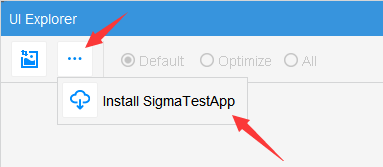
4. Install SigmaTestApp.
In "UI Explorer", click on "..." - "Install SigmaTestApp".
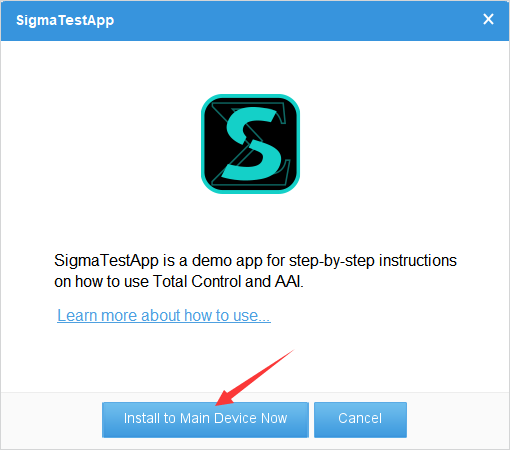
Click "Install to Main Device Now" in the pop-up window.
* Please check your Android device, if "USB installation prompt" pops up, please click "Continue installation".
Step 2: Get the query.
Query is used to locate UI elements. The entire screen consists of many nodes, and executing a query can find the node that meets the conditions and be used to get information about the node or perform operations on the node.
Reference : FindNode - Query
1. Get query by "UI Explorer"
Make sure that the SigmaTestApp is open on your Android device and click on "Screenshots" in the "UI Explorer" window.
The screenshot image appears in the "UI Explorer" window, with the UI elements on the screen marked with red dashed lines.
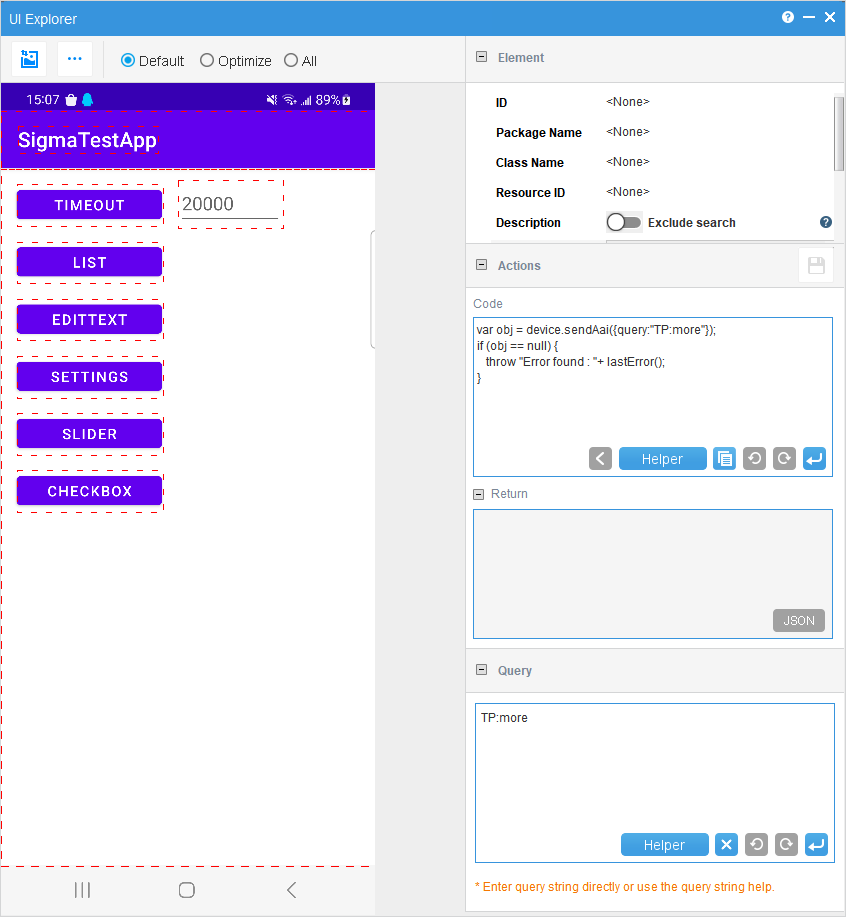
Click "TIMEOUT" on the screenshot, and the content marked in red in the "Actions" - "Show Code" box on the right is the query, through which you can locate the "TIMEOUT" button.
2. Custom query via "UI Explorer".
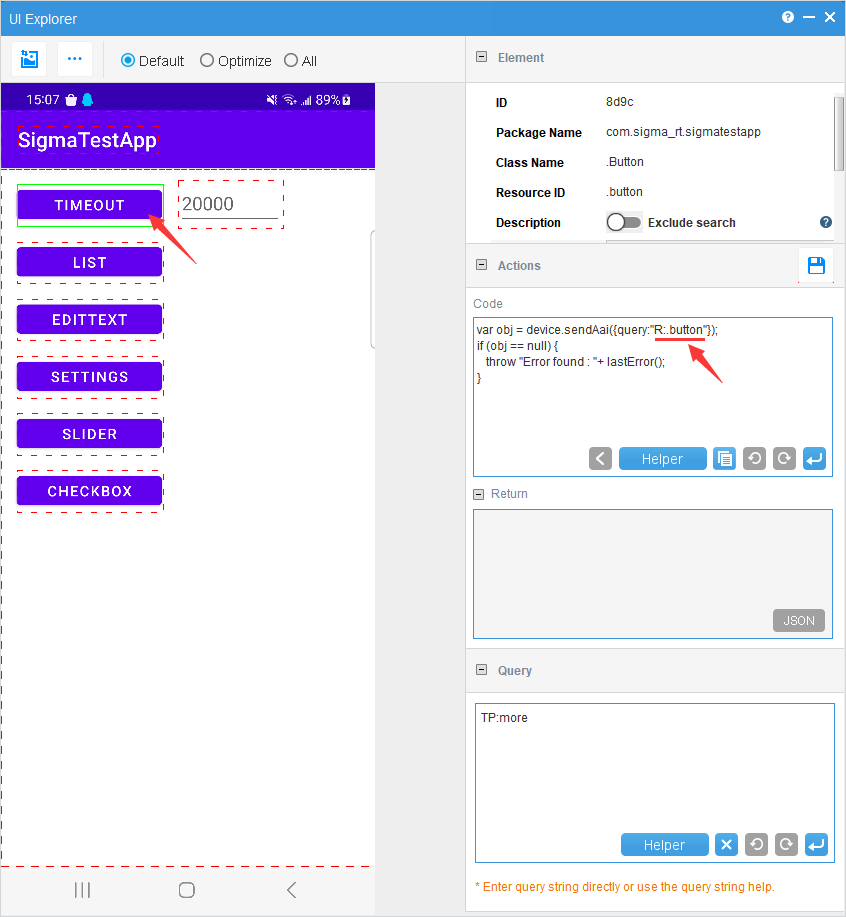
In the "Element" on the right, you can see the information corresponding to the node.
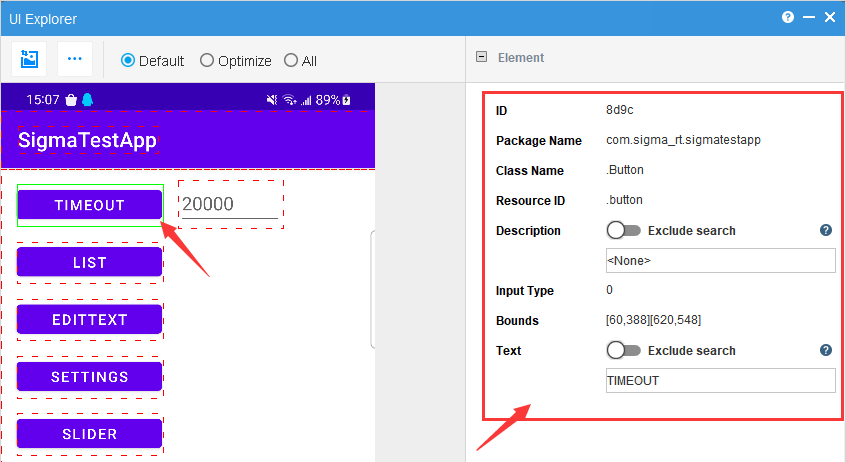
You can customize the query based on text, description, class, resource information. Take the "TIMEOUT" button on the left side as an example, the query code to locate the node by different information is as follows:
Locate by text:
T:TIMEOUT
Locate by description:
D:CHECKBOX
Locate by resource
R:.btn_CHECKOX
Locate by class:
C:.Button
Multiple restrictions are also possible, for example, matching both description and text information, separated by "&&":
T:CHECKBOX&&R:.btn_CHECKBOX
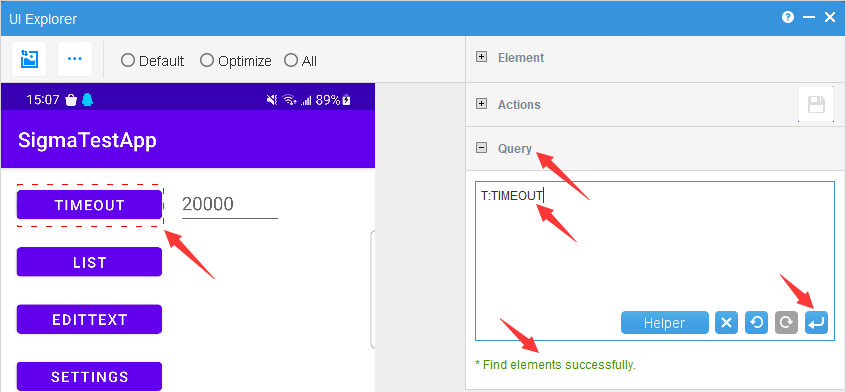
3. Validate the query in "UI Explorer".
If you are not sure if the query is correct, please copy it into the "Query" box and press enter or the "Execute" button.
Step 3: Performing Operations on Nodes (Actions)
After locating the node by query, you can perform various actions, such as clicking, getting the border or text, etc.
Reference: FindNode - Actions
1. Example 1: Click
The code for the click operation is: click, and we perform the click operation on the "TIMEOUT" node that we just located:
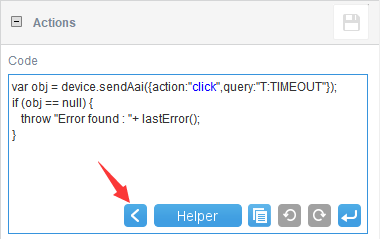
(1) You can use the "Helper" to add action code quickly, click "Helper" in the " Code" box, and find "click" under "Actions".
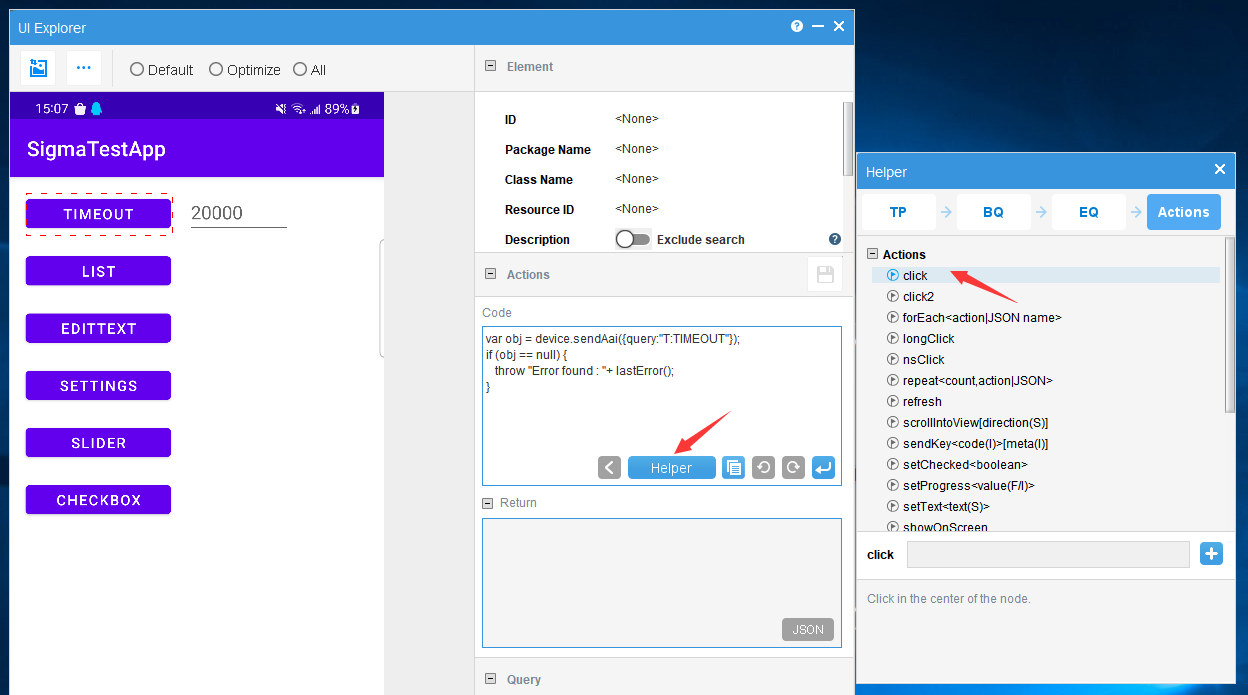
Click on the "+" icon to add the click to the code and execute it.
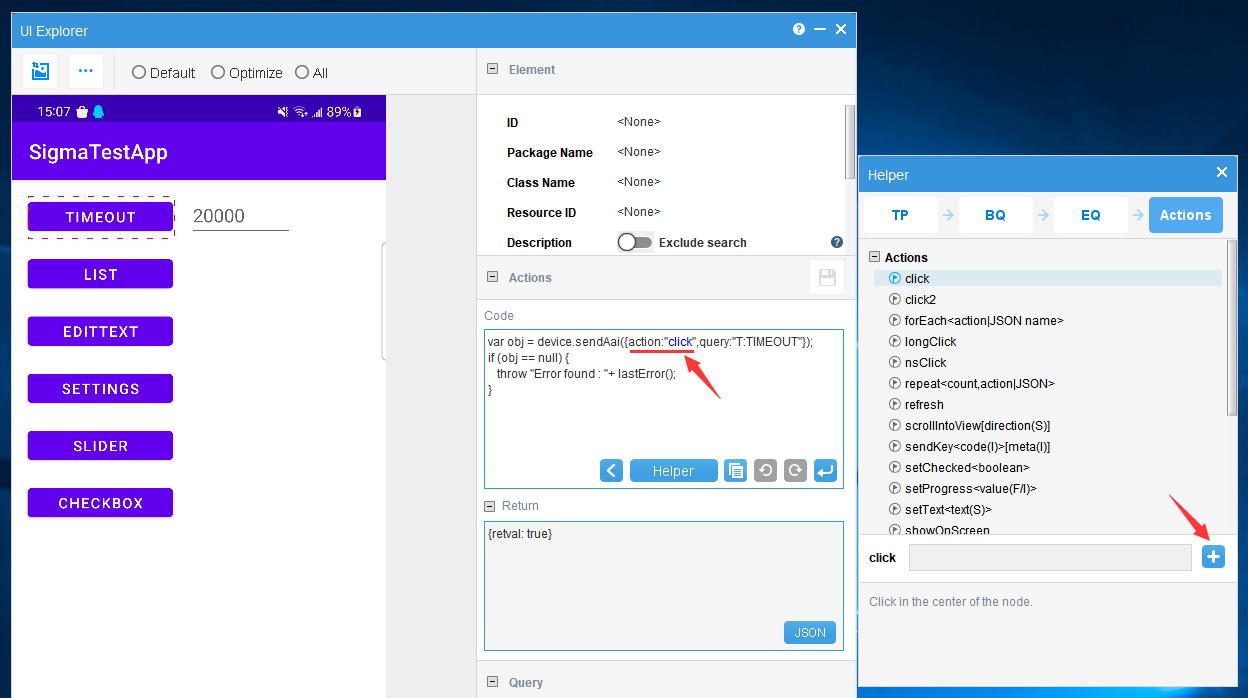
You can see the screen on the device after clicking the "TIMEOUT" button
* Note: The screenshot in "UI Explorer" will not change, you can click the "Back" button to go back to the previous screen on your device.
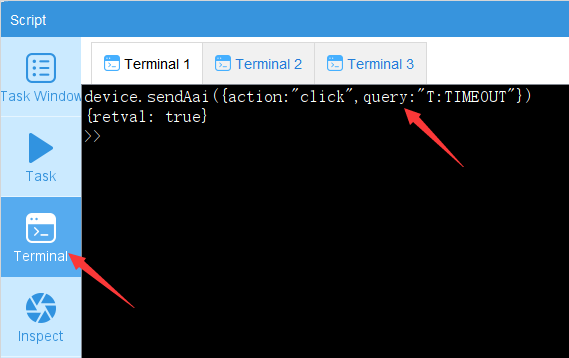
(2) If you are familiar with writing the code, you can also execute the code on the "Terminal", which is more convenient.
Copy the following code into the "Terminal" and enter to execute it.
device.sendAai({action:"click",query:"T:TIMEOUT"})
* Note: device is a device object. In the script terminal, device is assigned to the master device object by default and can be used directly.
2. Example 2: Scroll the screen to find the node and click.
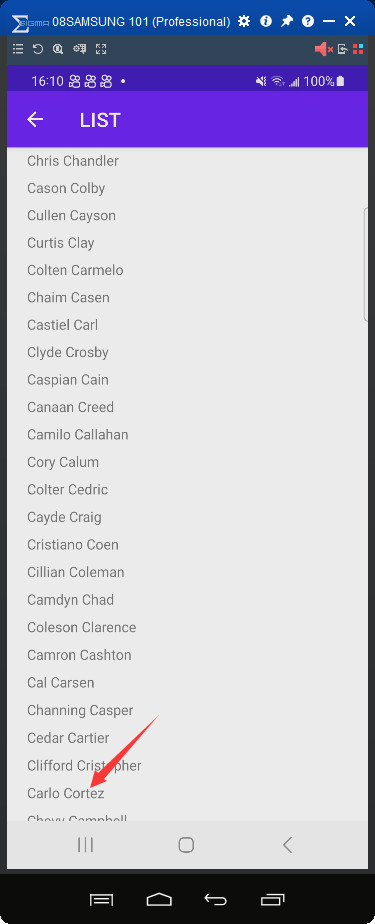
In "SigmaTestApp" click on "LIST" and you will see many subsections, let's test scrolling the screen to find the "Carlo Cortez" subsection at the end of the list and click on it.
There are many ways to support scrolling search, let's take scrollIntoView as an example, code:
device.sendAai({ actions:["scrollIntoView('T:Carlo Cortez','down')","click"]})

3. Example 3: Input
Go back to the "SigmaTestApp" home and enter the number "1000" in the input box to the right of the "TIMEOUT" button.
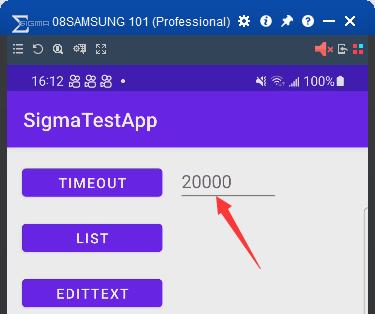
Code:
device.inputTextSync(0,”10000”)
* The parameter "0" represents the 1st input box, and the parameter "10000" is the number to be entered.
Reference: JS API
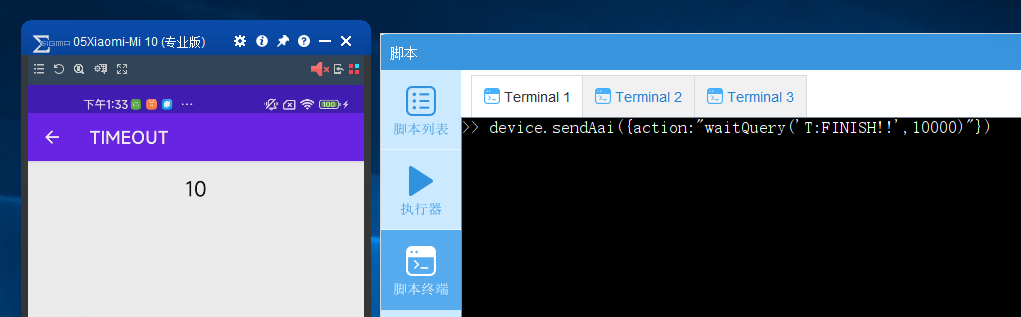
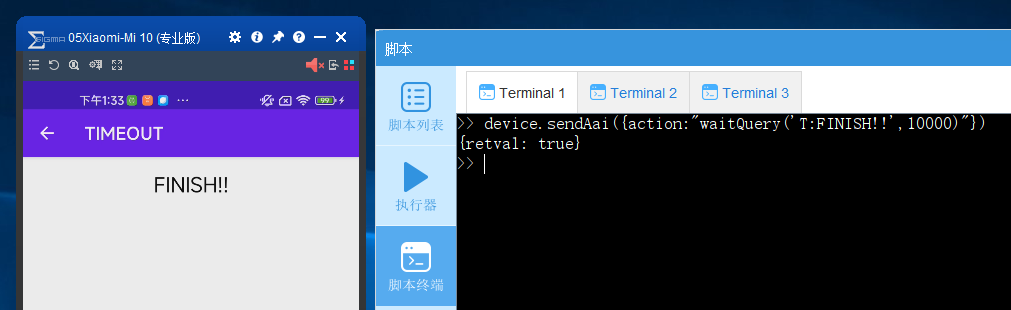
4. Example 4: Waiting for a UI element to be displayed.
Waiting for a UI element to be displayed can usually be achieved by a loop statement, which in AAI only requires one statement.
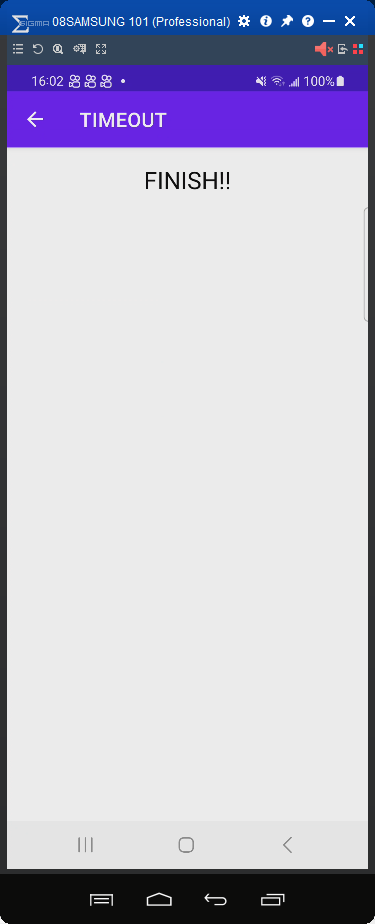
For example, if you click the "TIMEOUT" button and wait for a while, "FINISH!!!" will appear on the screen. The purpose of the following code is to wait for "FINISH!!!" appears for a maximum of 10 seconds.
Code:
device.sendAai({action:"waitQuery('T:FINISH!!',10000)"})
5. Others
For more other operations, please refer to: (FindNode)
Step 4: More FindNode Examples